
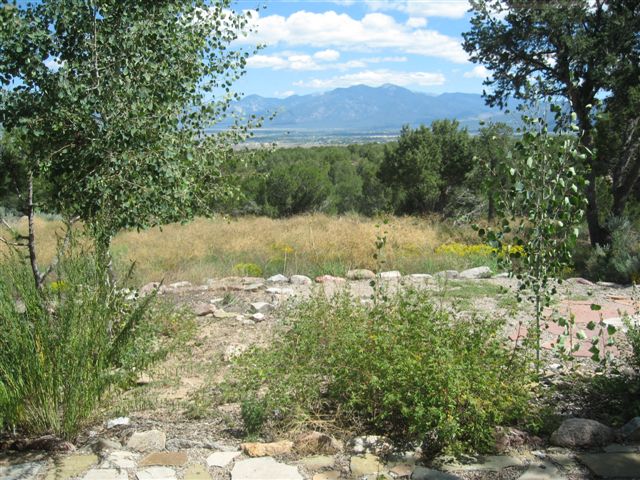
 Edge of the Field
Drypoint
5 x 6
This week I've been working on drypoints again. I've talked about this here (and how it differs from etching) but I thought I would show a few images of the actual process. Here is the plate with three of the tools I use to work the plate. The squiggley one has a point on each end and is called a Whistler's needle. The flat part on the one on the right is a burnisher which you can use to soften or eliminate lines on the plate.

The paper is soaking in a water bath before it is used. After its soaked for about an hour, you take it out and blot it until it's damp but not dripping. Then you are ready to print.

Here is the ink being mixed on a glass palette. This is Daniel Smith burnt umber etching ink with Easy Wipe added- a substance which helps make the ink more workable.

Here the plate is being warmed up on a hot plate. This will make the ink easier to apply and manipulate (especially since it was about 45 degrees in my studio today!).
 I am applying the ink to the surface of the plate with a cloth dauber. The entire surface is covered and wiped in each direction so the ink can find its way into all the lines as well as the burrs thrown up by the needle. Unlike an etching where you could wipe and rub pretty vigorously, with a drypoint you have to use a lighter touch to apply and wipe the ink.
Here is the plate after I have started wiping the ink but before its completely finished. I forget to take a photo at the end!

The plate is on the press waiting for the paper (which is in the bath at the right) to be laid on top. The blankets (which you can see laid back over the roller) are then placed on top and the tension adjusted to an even pressure and the press bed rolled through.


